Table of contents
Pre-Checks
- Check that the 1pps is connected to the DBBC2
- Check that the 10MHz is connected to the DBBC2
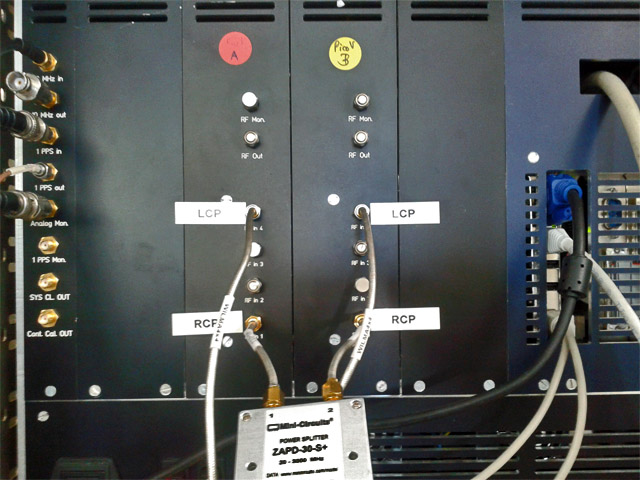
- Check that the IFs are connected (see Pico_DBBC.jpg )
- Check that the serial cable is connected from the DBBC to the FiLA10G box
- Check that the GPS antenna is connected to the FiLA10G box
- Check that the GPS antenna is located close to the window or is hanging out of the window
- Check that the USB cable from the DBBC2 backside is NOT connected to the FiLA10G box
- Check that all 2 VSI cables are connected to the FiLA10G box (2 coming from the DBBC2
, one going to the Mark5B) Check that one VSI cable of the FiLA10G box is connected to the Mark5 recorder
Startup
- power on the DBBC2 electronics (EL switch)
- power on the DBBC2 PC (PC swich)
- power on the FiLA10G box
Loading the DBBC2 firmware
- Log into the DBBC2 (user dbbc, password: ask Salvador/Helge); can be done also via remote desktop from mrt-vlbi
- Depending on the observation mode (PFB, or DDC) different firmwares must be used:
- Polyphase Filterbank Mode (PFB)
On the desktop double-click: "DBBC2 Control PFB v16..." icon (exact name can vary depending on the version)
- Tunable Mode (DDC)
On the desktop double-click: "DBBC2 Control DDC v107..." icon (exact name can vary depending on the version)
- Reply 'y' to the question whether to configure. Wait until the configuration is finished. During the process the LEDs on the DBBC2 frontside will change. Leave the window open after the configuration is finished.
- Note: in case the USB cable from the DBBC2 is still plugged into the FiLA10G loading of the firmware will throw an error. Make sure the cable is unplugged!
Loading the FiLA10G firmware
- Connect the USB cable from the backside of the DBBC2 (top right connector) to the FiLA10G box
- On the Desktop of the DBBC2 double-click the "FiLA10G Load" icon
- Verify that loading of the firmware did not throw errors
- Close the window
- Verify that the LEDs on the frontside of the FiLA10G box are operating (left LED should be red)
- Verify that you can connect to the FiLA10G via the serial line (see section "Communicating with the FiLA10G" below)
- Remove the USB cable from the FiLA10G box
Communicating with the DBBC2
- On the DBBC2 desktop double click the "DBBC client V4.exe" icon (exact name can depend on the installed software version)
- At the prompt issue a command (a command reference manual can be found in the DBBC2 folder close to the VLBI computer)
- NOTE: the client must be closed prior to starting the VLBI field system!
Communicating with the FiLA10G
- On the DBBC2 desktop double-click the PuTTY icon.
- In PuTTY select the "FILA10G_ext" setting and click on open
- In the appearing window hit return to get to the FiLA10G command prompt.
- Enter command at the prompt (a command reference manual can be found in the DBBC2 folder close to the VLBI computer)
- Close PuTTY when done
Comments